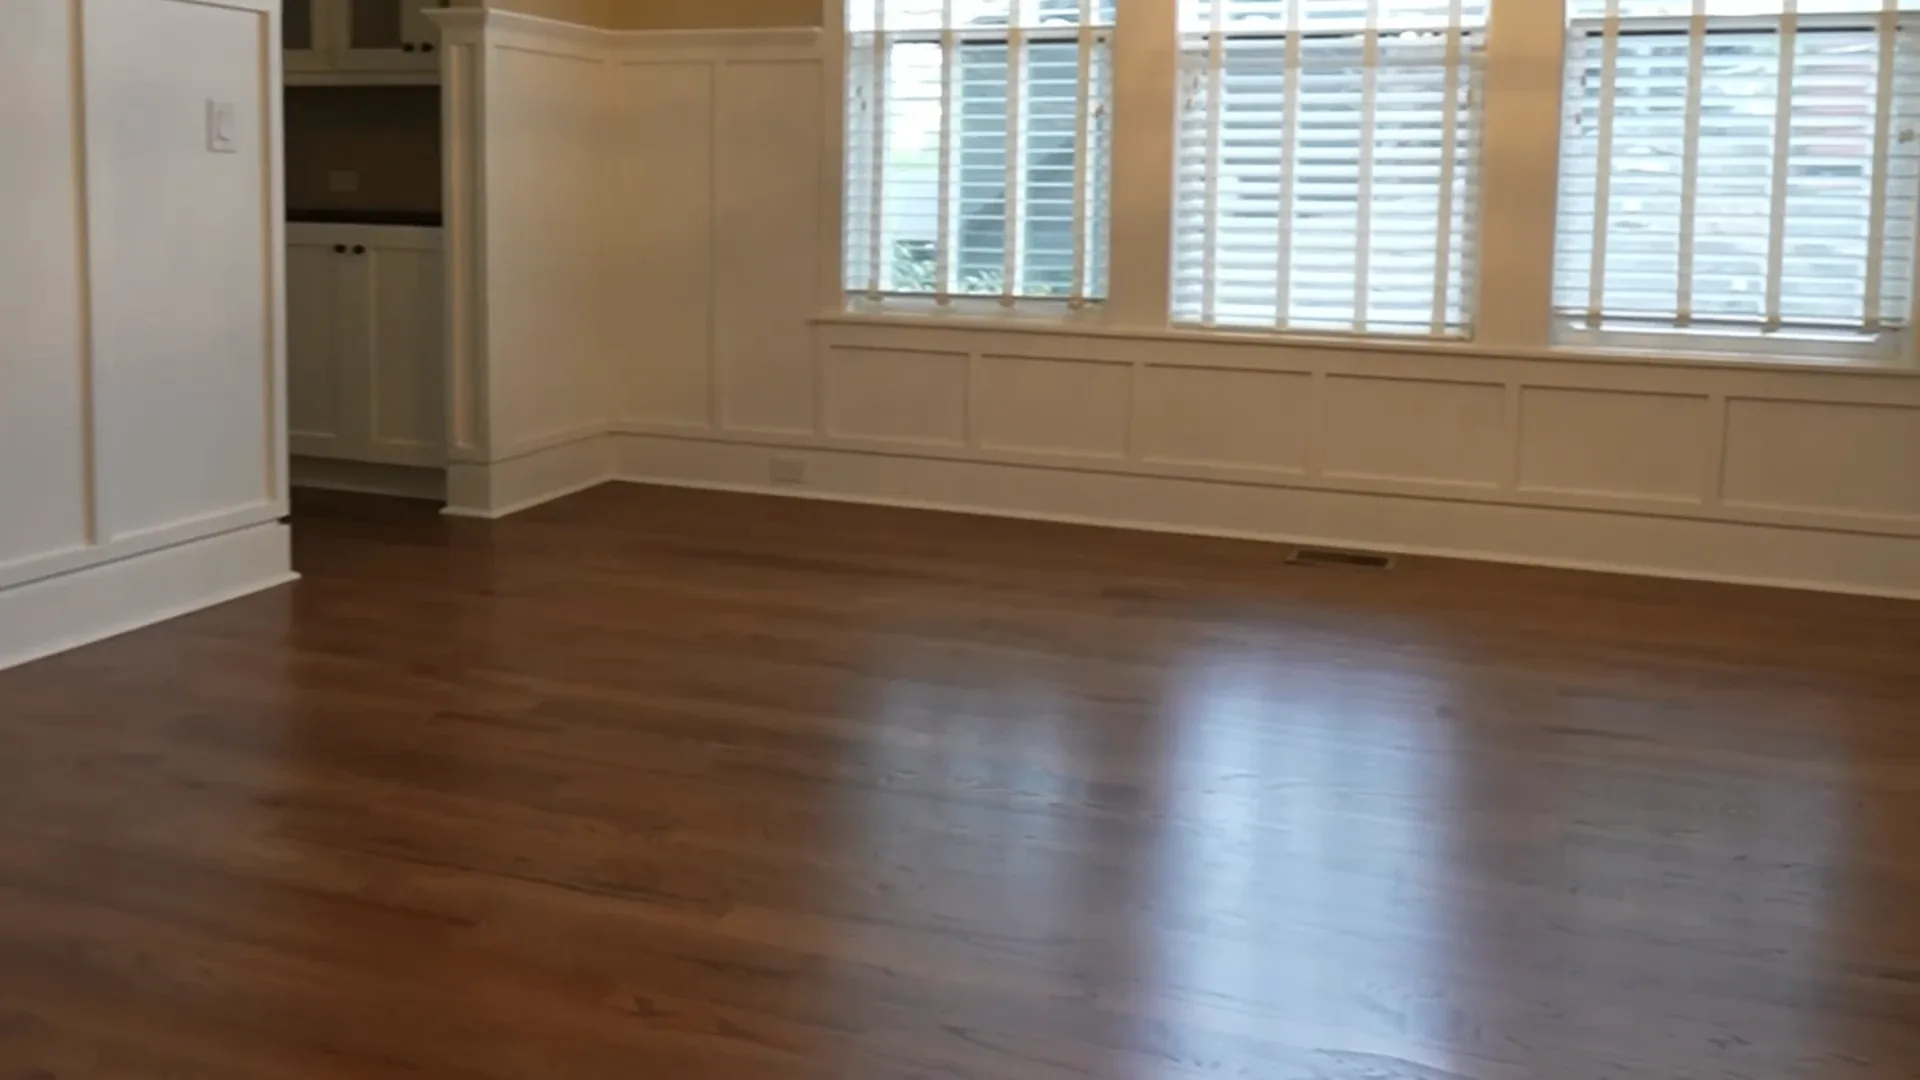
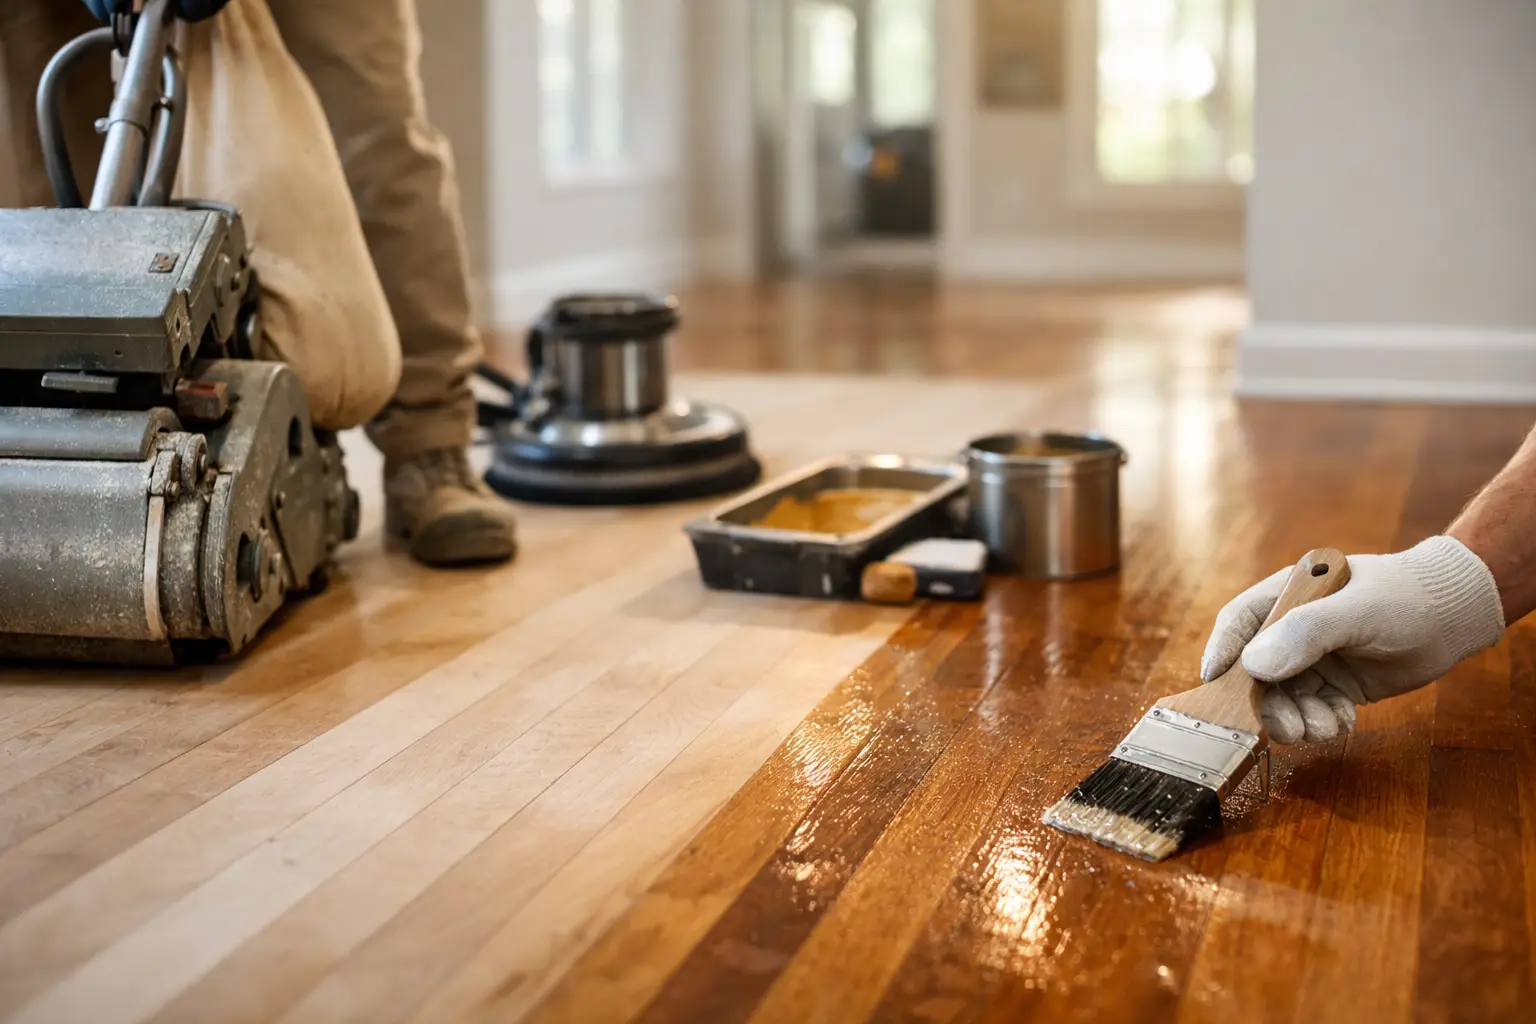
Scratches by the sofa, dull traffic paths in the hallway, and a finish that no longer reflects light the way it used to – those are usually the signs that homeowners start paying attention to the hardwood floor refinishing process. If your floors still feel solid underfoot but look tired, refinishing can often bring them back without the cost of full replacement.
That said, refinishing is not just “sand and coat.” The quality of the result depends on the condition of the wood, the equipment being used, the finish system, and the care taken at every stage. For homeowners in Charlotte who want a cleaner-looking home, better durability, and a result that feels worth the investment, it helps to know what actually happens from the first inspection to the final walkthrough.
What the hardwood floor refinishing process really involves
At its core, refinishing removes the worn top layer of a wood floor and replaces it with a fresh protective finish. In many cases, it also includes stain work to change or refresh the color. The goal is not only cosmetic. A properly refinished floor is easier to clean, better protected against daily wear, and more likely to hold its value over time.
Not every hardwood floor is a good candidate, though. Solid hardwood can usually be refinished multiple times, while engineered wood depends on the thickness of its wear layer. Floors with deep water damage, structural movement, severe pet stains, or boards that are too thin may need repair before refinishing, or in some cases replacement in specific areas.
That is why the first step should always be evaluation, not guesswork.
Step 1: Inspecting the floor and setting expectations
A professional refinishing job starts with a close look at the existing floor. This includes checking the wood species, board thickness, current finish condition, squeaks, gaps, cupping, previous patchwork, and any stains that may have penetrated the wood.
This is also when realistic expectations are set. Some marks sand out easily. Others, especially black stains from moisture or old pet accidents, may lighten but not disappear completely unless boards are replaced. If your floor has significant sun fading, the newly exposed wood after sanding may look different than you expect until stain and finish are applied.
For many homeowners, this consultation is one of the most valuable parts of the job because it answers the practical questions upfront: Can these floors be saved? Will the color change evenly? How long will the house be disrupted? What will the final finish actually look like?
Step 2: Preparing the room and protecting the home
Before sanding begins, furniture, rugs, and floor-level decor need to be removed from the work area. In some cases, doors may need to come off temporarily to allow proper equipment access and clearance. Any protruding nails or fasteners are addressed, and damaged boards that need repair are identified before the main sanding process starts.
Containment matters here. Professional crews take steps to control dust and protect adjacent spaces, even when using modern dust-reduction systems. No sanding job is completely invisible from a disruption standpoint, but good preparation makes a major difference in how clean and manageable the project feels.
This is also the time to talk through household logistics. If you have pets, children, or work-from-home routines, planning the schedule well can make the process much smoother.
Step 3: Sanding down to clean wood
Why sanding is the most technical part
Sanding is where craftsmanship shows. The floor is typically sanded in multiple passes, starting with a coarser grit to remove the old finish and surface damage, then moving through finer grits to smooth the wood and prepare it for stain or clear coat.
A rushed or uneven sanding job can leave chatter marks, swirl patterns, dips, and visible drum lines that become even more obvious after finish is applied. That is why professional-grade equipment and operator experience matter so much. The machine itself is only part of the equation. Knowing how much material to remove, how to handle edges, and how different wood species respond is what protects the floor and improves the final appearance.
Edges, corners, and detail work
Large sanding machines handle the open field of the room, but edges, corners, closets, stair landings, and tight areas require separate tools and a lot of patience. This is often where lower-quality jobs reveal themselves. If the center of the room looks smooth but the perimeter looks rough or darker, the finish will not read as consistent.
After the main sanding passes, the floor is usually screened or buffed to refine the surface further. Then it is vacuumed thoroughly to remove dust before the next phase.
Step 4: Repairs before stain or finish
If boards are cracked, split, badly stained, or loose, this is the stage where repairs are typically completed. Gaps may be addressed depending on season, board movement, and floor type. Small imperfections can sometimes be filled, but filler is not a cure-all. In natural wood flooring, some movement is expected, especially in climates with seasonal humidity swings.
Color matching is another area where experience matters. New wood patches can look different from older surrounding boards, especially before finishing. A good refinishing plan accounts for that and aims for the most natural blend possible, not a rushed patch that stands out every time you walk by.
Step 5: Choosing stain or keeping the natural look
Once the floor is sanded clean, you have a decision to make: apply a stain or keep the natural wood tone under a clear finish. Neither option is automatically better. It depends on the look you want, the species of wood, your home’s lighting, and how much variation you want to highlight or soften.
Stain can deepen character and shift the style of the room dramatically. It can take a floor from orange-toned and dated to more current and balanced. At the same time, darker stains tend to show dust, scratches, and pet hair more easily. Very light or natural finishes can feel fresh and clean, but they may reveal certain imperfections in the wood grain rather than hiding them.
A sample area is often the smartest way to decide. What looks good on a stain chart can read very differently across your actual floor.
Step 6: Applying the protective finish
Water-based vs. oil-based finish
After stain, or directly after sanding if no stain is used, the protective finish is applied. This is the layer that gives the floor its durability and sheen. The most common options are water-based and oil-based polyurethane, though there are other professional systems depending on the project.
Water-based finishes usually dry faster, have lower odor, and keep the wood color more natural. They are popular with homeowners who want less yellowing over time and a quicker return to service. Oil-based finishes often provide a warmer tone and can be very durable, but they usually have longer dry times and stronger odor.
The right choice depends on timeline, desired appearance, household sensitivity to smell, and the wear the floor will need to handle.
Number of coats and cure time
Most refinishing jobs involve multiple coats, with proper dry time and abrasion between coats when needed. This is not the stage to rush. A floor can feel dry to the touch before it is ready for foot traffic, rugs, or furniture.
Dry time and full cure time are different. You may be able to walk carefully on the floor within a relatively short window, but full hardness takes longer. That is why professionals give clear aftercare instructions about socks only, furniture placement, rug timing, and pet access.
How long the process usually takes
For an average residential project, the hardwood floor refinishing process often takes several days from prep through final coat, though repairs, stain selection, humidity, and finish type can extend the timeline. Larger homes and occupied homes may need phased scheduling.
If you are trying to coordinate around a move, a holiday, or visiting family, this matters. The fastest schedule is not always the best schedule. A well-planned job with proper drying and curing time is usually the better investment than trying to shave off a day and risking the final result.
What homeowners can do to get a better result
The best refinishing outcomes come from a mix of professional execution and homeowner preparation. Clear the work areas fully, ask questions before the project starts, confirm the finish system being used, and make sure expectations around dust, access, and dry time are discussed in plain language.
It also helps to think beyond the floor itself. Wall color, trim condition, lighting, and adjacent flooring can all affect how the refinished floor looks once the job is done. A floor may be beautifully refinished and still feel “different” if the surrounding finishes were selected around its old color.
For homeowners who want the process handled carefully from inspection to final walkthrough, companies like HD Hardwood Floors build the job around both craftsmanship and communication, which is exactly what keeps a refinishing project from becoming a stressful one.
A good refinishing job should leave you with more than shinier floors. It should give you a home that feels cleaner, more finished, and easier to enjoy every day – and that starts with choosing a process, and a team, that treats the details like they matter.